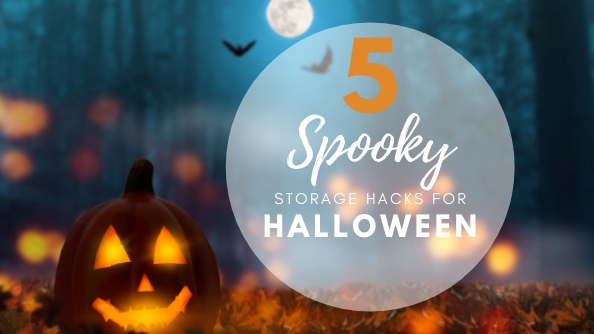
5 Spooky Storage Hacks For Halloween Decorations
19
Sep 2022
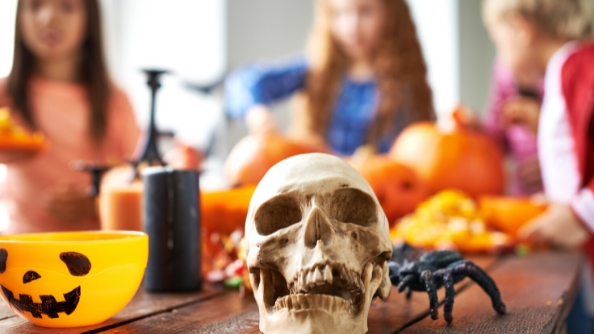
Once a year, our neighborhoods are taken over by zombies and princesses having a frightful good time. But once trick or treating has come to an end, it’s time to take down the spider webs, unplug the inflatable witches and pack away all of your ghoulish decorations in storage.
Previously, we’ve shared ways you can stay organized during the holiday season, now we’re diving deeper into five of our best Halloween storage hacks to keep your skeletons and bats organized and ready for more scares next year.
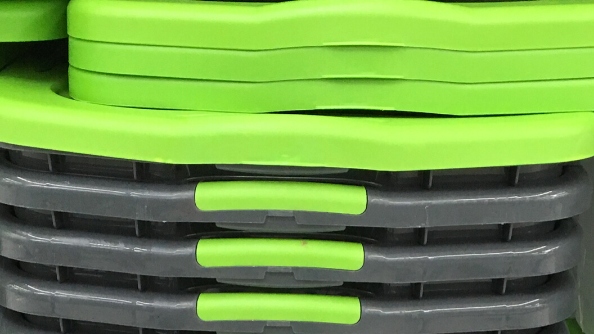
1. Plastic Tubs Are Your Friend
Instead of having to find space for dozens of boxes and bags, try consolidating your halloween decor into a few larger bins. Inexpensive plastic tubs will help protect your decorations from annoying bugs and moisture while keeping your things easily accessible. Use a piece of masking tape to label each container with a general idea of what is inside.
Pro Tip: Find containers that offer lids in multiple colors. You can assign different colors for different holidays like Halloween and Christmas which will make organizing and storage all year long even easier.

2. Save (Some) Original Packaging
Totes and bins are a great way to keep your smaller bats and spiders organized, but larger decorations can be too big to fit inside of a plastic container (12 ft. skeleton anyone?). For these items, try to save the original packaging for stress-free storage. This will allow you to easily identify these items when you need to find them inside of your storage unit or garage, and can be stacked alongside your halloween bins.

3. Protect Your Costumes
A good costume can last a lifetime! Protect them during storage by spending some time thoroughly cleaning them up after use. When you’re ready to pack them away, store them inside of a garment bag to keep critters and dirt away. If you have enough costumes to fill multiple bags, label each with what is inside.
Pro Tip: You can take it a step further and vacuum seal your costumes in plastic bags. This can help you keep them clean and protected while also saving even more space.
4. Pack Items By Room
One of the most convenient ways to pack your Halloween decorations is to organize them by room or area. That way, when you’re ready to bring them back out next year, you won’t need to worry about searching through multiple boxes or tubs as you decorate each area of your home. Be sure to label your containers with a piece of masking tape so you can quickly identify where that box or bin should go.
Pro Tip: DO NOT store any perishable items like leftover candy with your Halloween decorations. Not only will it most likely be expired the next time you go to take them out, it could attract bugs to your boxes and bins.
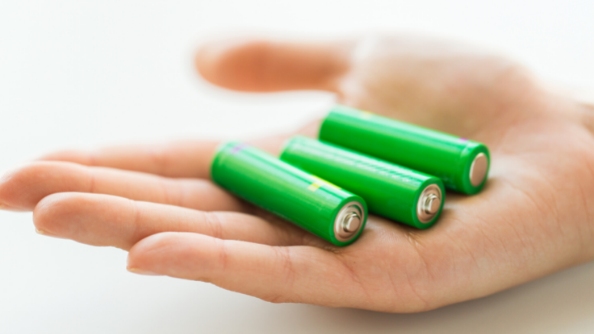
5. Remove the Batteries
From screaming witches to laughing ghosts, electronic decorations are becoming more popular every year. Before you stuff that dancing skeleton back inside a plastic bin though, make sure to remove any batteries that are found inside. The Florida heat can cause batteries to leak and ruin your giant spiders and plastic pumpkins. Plus, after sitting in storage for the next 12 months, those batteries would probably need to be replaced either way.
Taking the time to organize and store your Halloween decorations properly will save you plenty of time and effort next October. Plus if you’re running out of space to keep your creepy containers at home, renting a storage unit at a nearby Personal Mini Storage could be an affordable alternative.